If you’re anything like me, you believe that your outfit is not complete unless your nails are looking fresh and well-manicured. On top of that, with busy modern day life, an old-fashioned manicure with normal nail polish just won’t cut it anymore. Women no longer have the time to sit still and wait for it to dry, nor the time to worry about chipping their polish when rummaging through handbags. The emergence of gel polish like CND shellac was a welcome introduction to this relatively uninterrupted market.
If you’re busy juggling a career and/or family life, it’s probably easier to pop out to your nearest salon or nail bar for 45 minutes, rather than spend time at home watching YouTube videos on how to give yourself the perfect CND shellac manicure at home. It also makes for a welcome bit of ‘me’ time. Yet, there are occasions when we just can’t get an appointment or make it to the salon before they close; or as we find ourselves at present – on lock-down at home due to a global pandemic.
If you can relate to all this and find yourself in that very situation, this article is for you – beginning with the safe removal of your gel nails, to cleaning up the cuticles, all the way to reapplying a fresh layer of shellac to your newly groomed nails.
This article contains affiliate links
The Ultimate Guide To a Shellac Manicure at Home
Before going into how you’re going to give yourself your own shellac manicure at home, you may already have either acrylic or gel nails, or existing shellac on your nails that needs some attention! If you’ve already removed whatever was on your nails, then feel free to skip to the next section!
Disclaimer: the term ‘Shellac’ is a brand owned by CND rather than a term for generic polish, therefore where possible, CND polishes are linked. That being said, this is not a sponsored post.
How to Remove Gel Nails at Home
If you already have gel nail extensions on your nails, you’ll need to address this first. Knowing when to remove them is just as important as how you remove them.
Knowing When To Remove Your Nail Extensions
Best practice is to get infills to your extensions every two weeks, but they can last up to a month. It is at this point though that either an infill or removal becomes essential. That being said, this only applies if your nails continue to look healthy with no lifting. If your nails do start to chip or lift within those 4 weeks, it is advisable to remove them immediately. If your nails begin to lift either from the bottom, sides or even from the top between your natural nail and the extension, it’s time for them to go. This ‘lifting’ allows moisture and water to creep in between the nail and extension, and it can result in infection.
Finally Removing Shellac From Nails
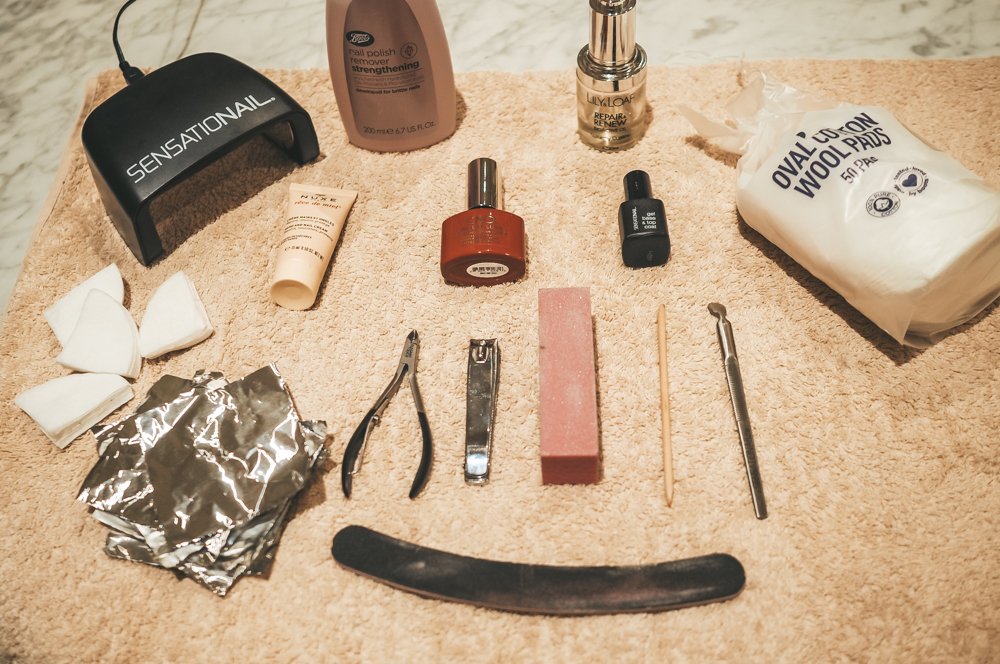
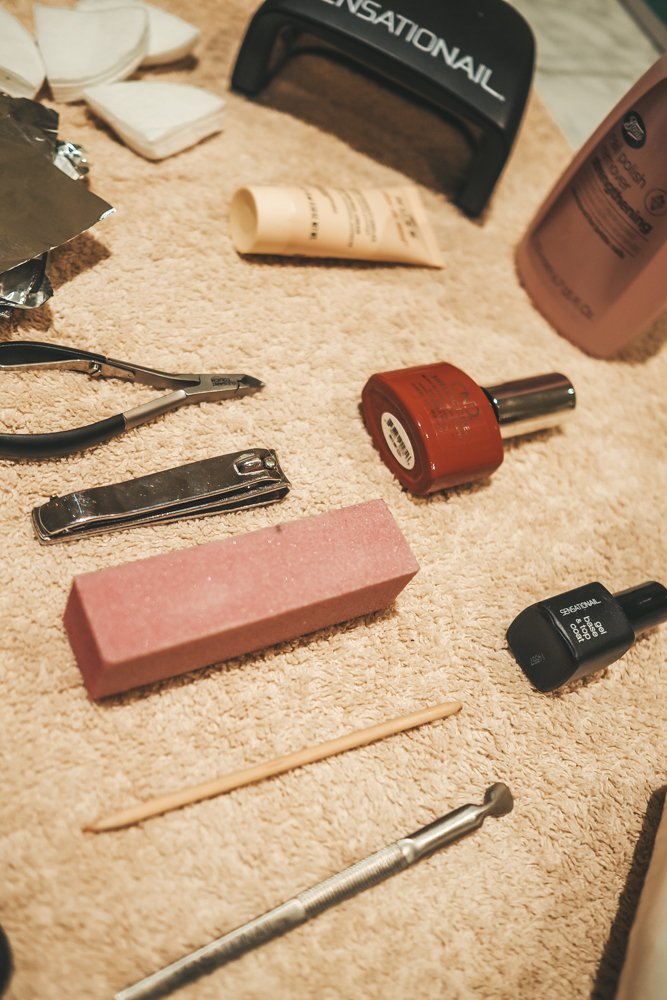
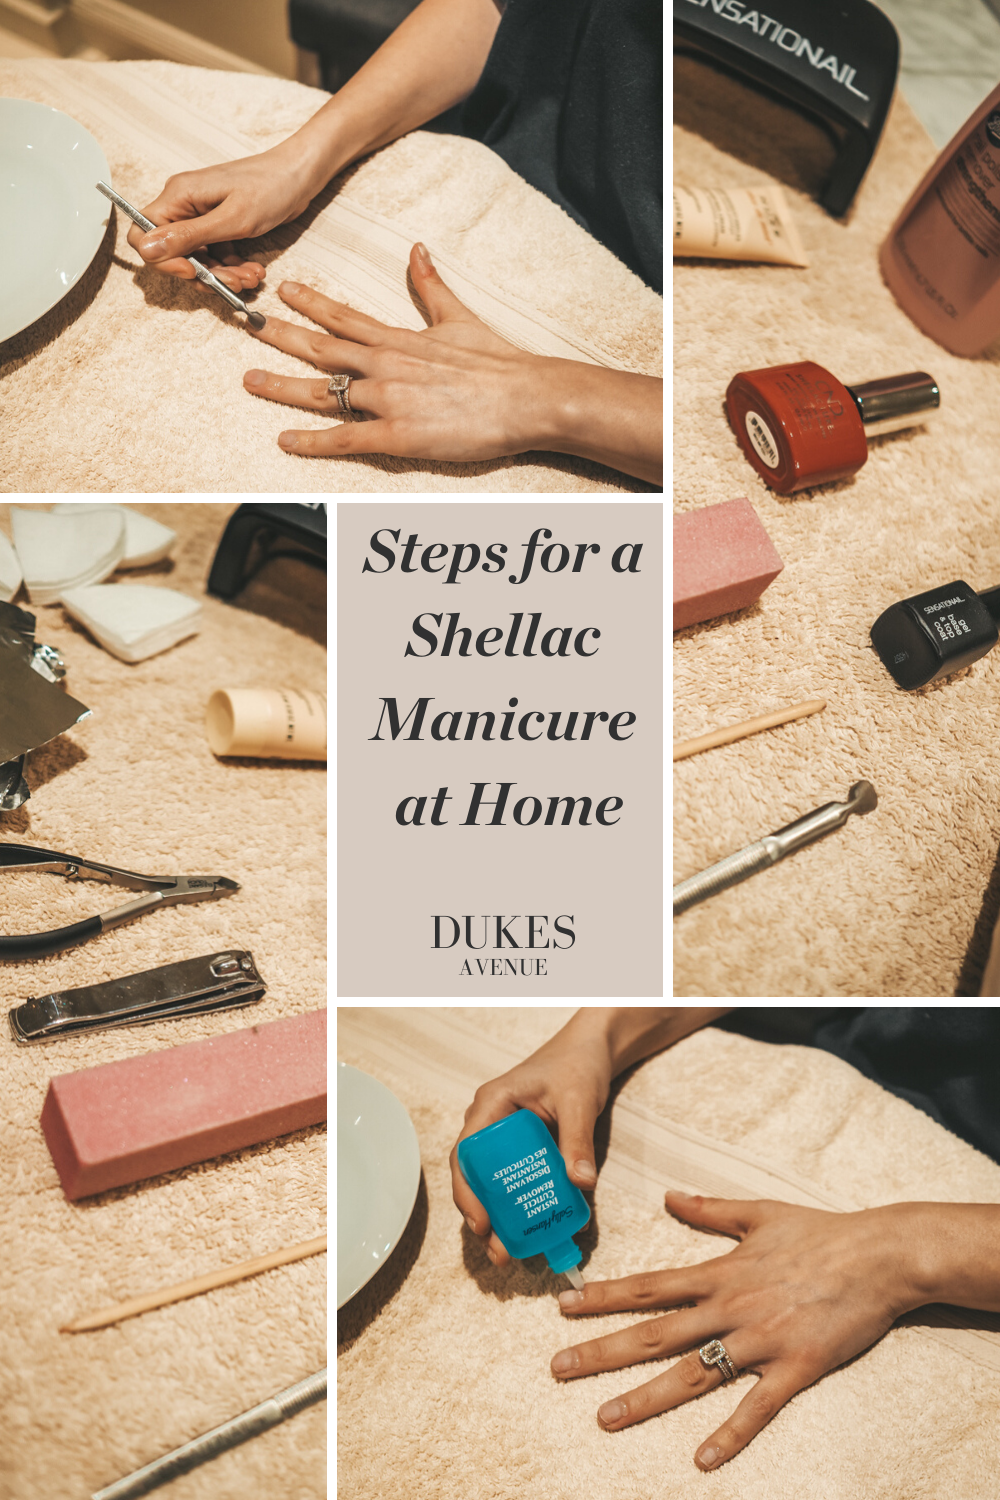
OK, so you’ve decided that it’s time for the nails to go, but for whatever reason, you can’t get to your trusted nail technician to remove shellac professionally. If this is you right now, these are the steps that you need to take. You may also need to purchase a few items (all linked below!), but for the most part, you’ll find a lot of the items you need lying around at home.

Disclaimer:if you can get to a salon, it is very much recommended that your nails are removed by a professional. Improper removal/skipping some of these steps could lead to long-term nail damage or injury!
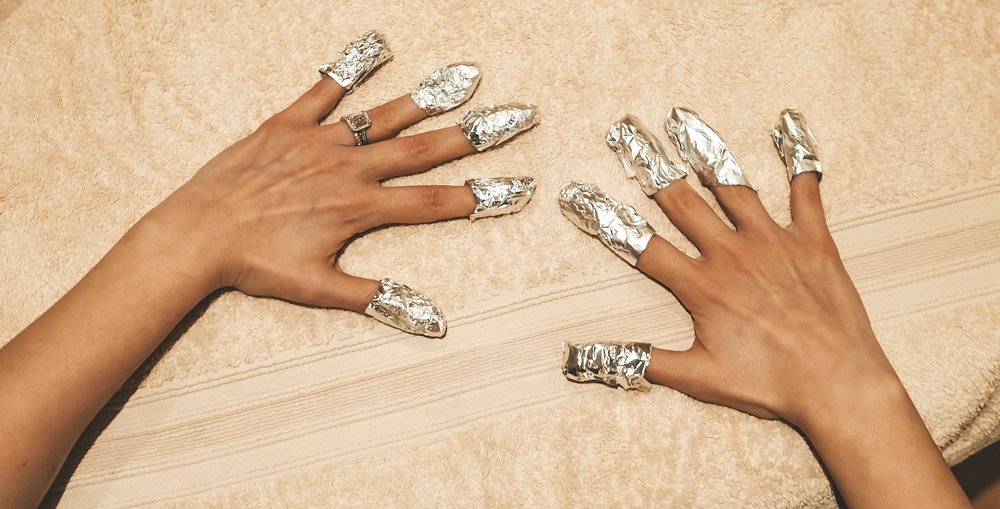
Before Removing Shellac
Find yourself a clean and well-lit surface to work from and lay out a towel. Wash your hands thoroughly with hand wash or soap and water. Begin by carefully clipping your nails short. As someone who is obsessed with her (normally) perfectly manicured long coffin-shaped long nails, I know this is not ideal. That being said, long nails are unfortunately home to bacteria, which is not ideal during a pandemic.
Trim your nails to a comfortably short length. An Australian nurse provided this test to check whether the length is short enough: “If you can’t put your fingernails straight down against your other palm without your nails adding too much distance to do it, you cannot wash under your fingernails properly unless you use a nail brush every time.”
After clipping your nails to the length you desire, pick up your nail file and file away any jagged edges. Use that same nail file to gently file off the top layer of your existing shellac. This will make the next step a little easier.

Use Acetone for Shellac Removal
After trimming your nails, it’s time to grab the foil kept in your kitchen, a pair of scissors and some cotton wool. Whilst it’s likely that you have all of these at home, what you may not have is a bottle of 100% acetone. You can use a normal nail polish remover that has acetone, but if you did want to purchase 100% acetone to ensure the job gets done, this is generally sold in most pharmacies. You can also order CND’s remover created specifically for shellac nail polish on Amazon.
Unless you already have cotton balls, break off 10 pieces of cotton wool that are large enough to cover your nails. Then, cut off 10 rectangular pieces of foil that are large enough to wrap around your finger nails but small enough to only cover the tops of your fingers.
Soak your cotton balls in acetone and place each one directly on each of the nails, and then wrap them in foil. Filing off the top layer in the previous step will allow the acetone to penetrate your existing shellac further. If you find the use of tin foil a little bit of a hassle, you can purchase reusable caps instead. The removal kit mentioned above also has these included.
At this point, all you need to do it sit back and do nothing; maybe watch TV or read a book, but take 10 minutes for yourself!

After those 10 minutes are up, twist off your foils or nail caps – but don’t throw them away just yet! Use a cuticle pusher to gently lift off the gel or shellac. If you find that they won’t budge, just pop your caps back on and leave them on for another 5 minutes. Once all the shellac is removed, grab a buffing block to smooth your natural nails from any excess residue from the shellac.

A Shellac Manicure at Home
Once your old gel or acrylic extensions are off and the gel or shellac nail polish has been removed, you can begin your shellac manicure at home. If, after seeing your nails, you decide it’s time to give them a break, then feel free to stop here. The acetone is incredibly drying and you’ll need to give your nails and cuticles a bit of hydration using a cuticle cream or oil.
A little bit of a break from extensions or shellac will do your nails the world of good, so fret not if you decide to give them a few week’s rest. This article will be around when you decide it’s time to re-apply, so just bookmark the page and jump back in when you are ready!
Care for Your Cuticles
After all the acetone, your cuticles are going to need some attention. Grab a bowl from the kitchen and fill it with some lukewarm water and a little coconut or essential oil. If you don’t have either, any other oil will do – you could even use a splash of white vinegar. White vinegar disinfects the nail and helps to soften the cuticle bed. Apply a cuticle remover to the base of your nail, and then just insert your fingertips into the warm water for 10 minutes (5 if using vinegar).
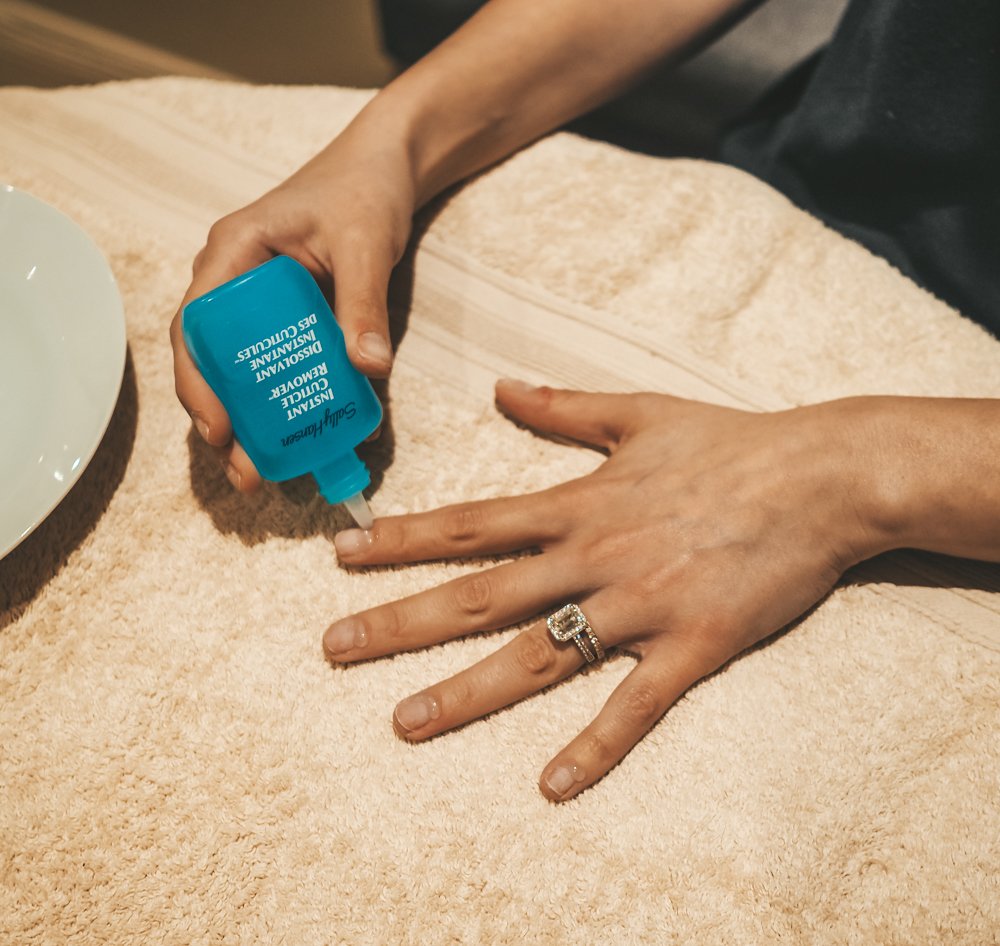
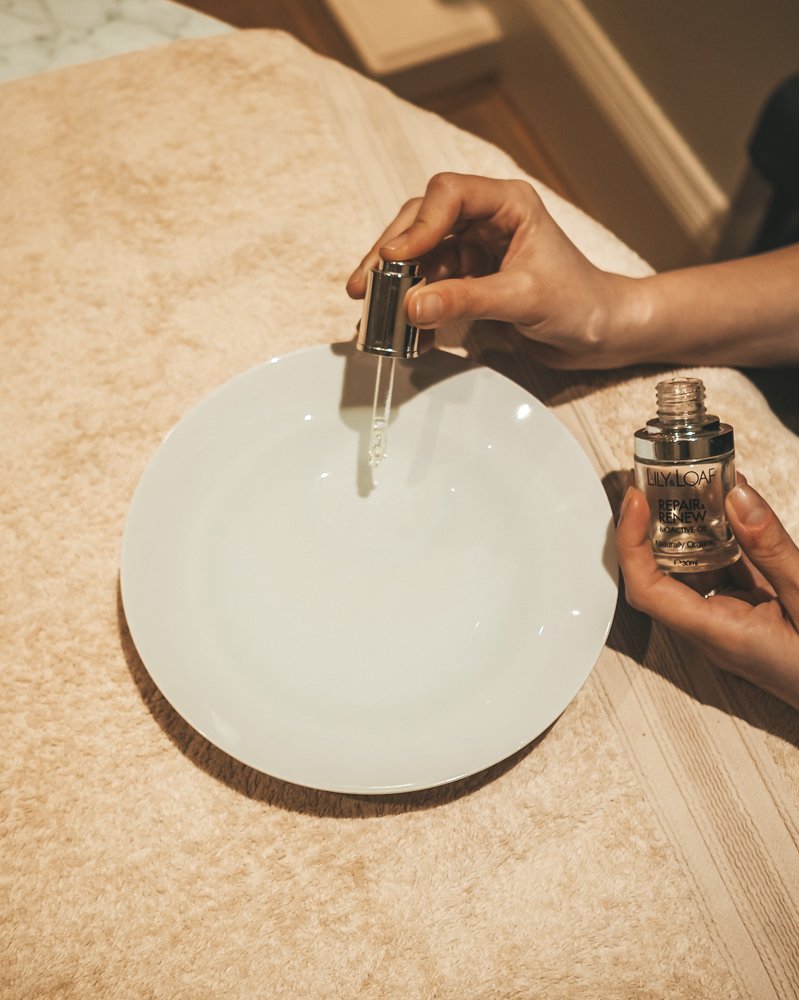
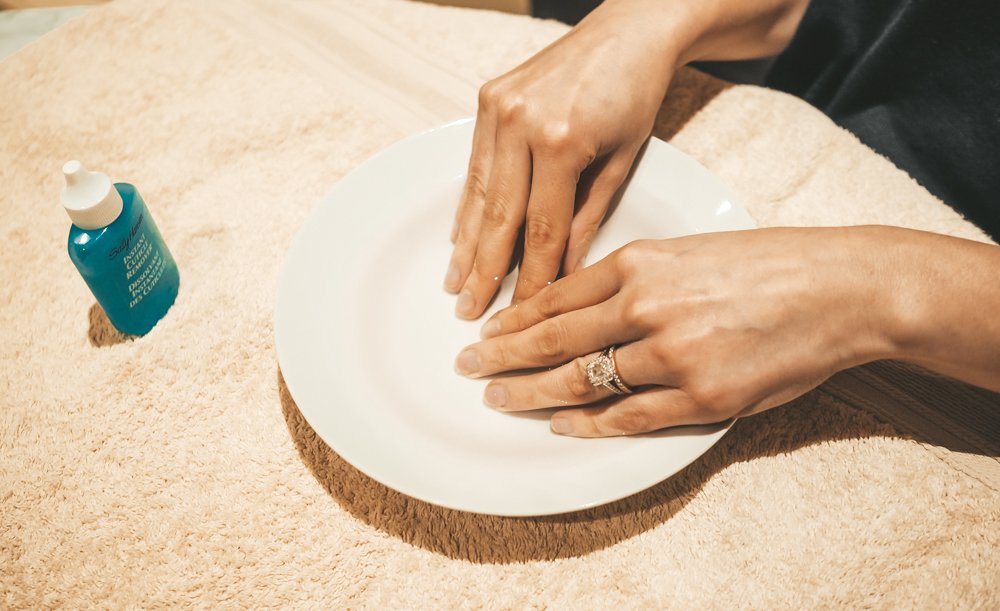
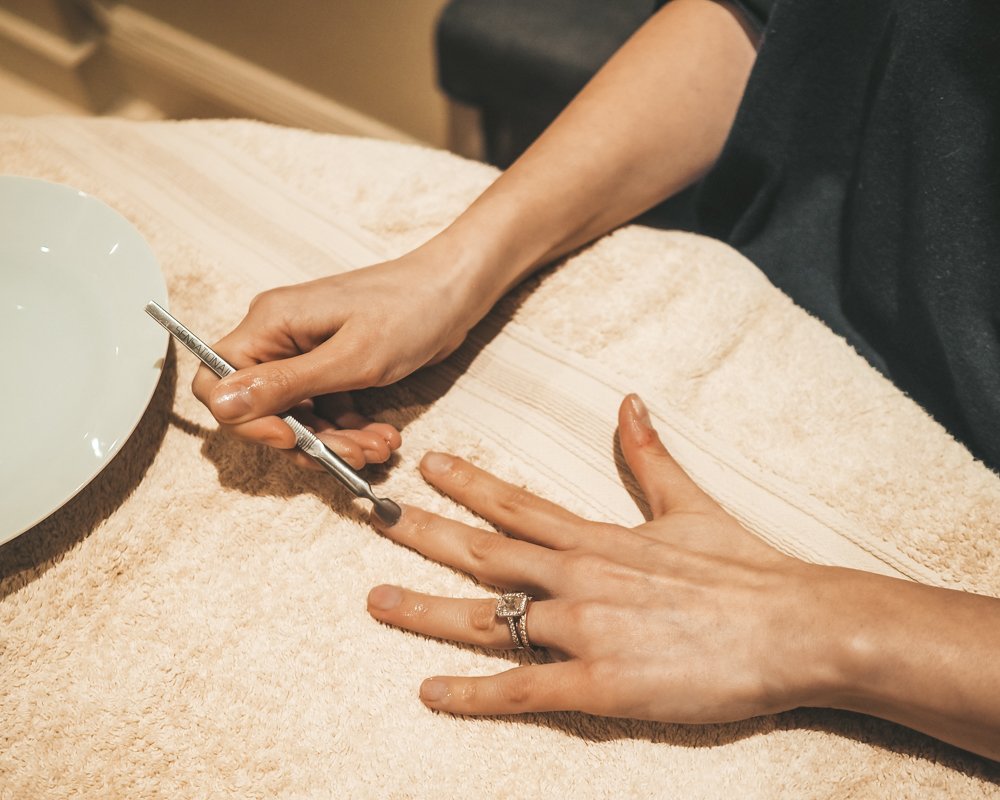
After soaking, remove your finger tips from the water and dry them on the towel you have laid out at the beginning. Gently use a cuticle pusher to push back the cuticles, and the appropriate nipper to trim off the dead skin tag on top. The common misconception is that you actually cut the cuticle, however this is not the case. If you’re interested in reading more about this, head over to Nail Pro’s Cuticle Guide for a full explanation of what the cuticle is.

Shape the Nails
You may have already done this when removing your shellac or gel nail polish, but if not just grab the file you were using and gently shape the corners of your nail to your preferred choice. My personal favourite will always be coffin-shaped nails, however given that they are now short, I left them in a simple square shape and just rounded off the edges. If you’re an avid reader of Vogue, you’ll know all about the 90/10 rule – a rule which states that 90% of your nail-shaping is done by the nail clipper, and just 10% with the nail file!

Time to Paint Your Shellac Nails!
After all that trouble of removing your old gel manicure, giving yourself some cuticle nail care and filing to the shape you want, it’s time to start painting on your new set of shellac nails! You’ll need three things: a gel base coat, a nail gel polish in the color of your choice and a gel top coat.

Apply a Base Coat
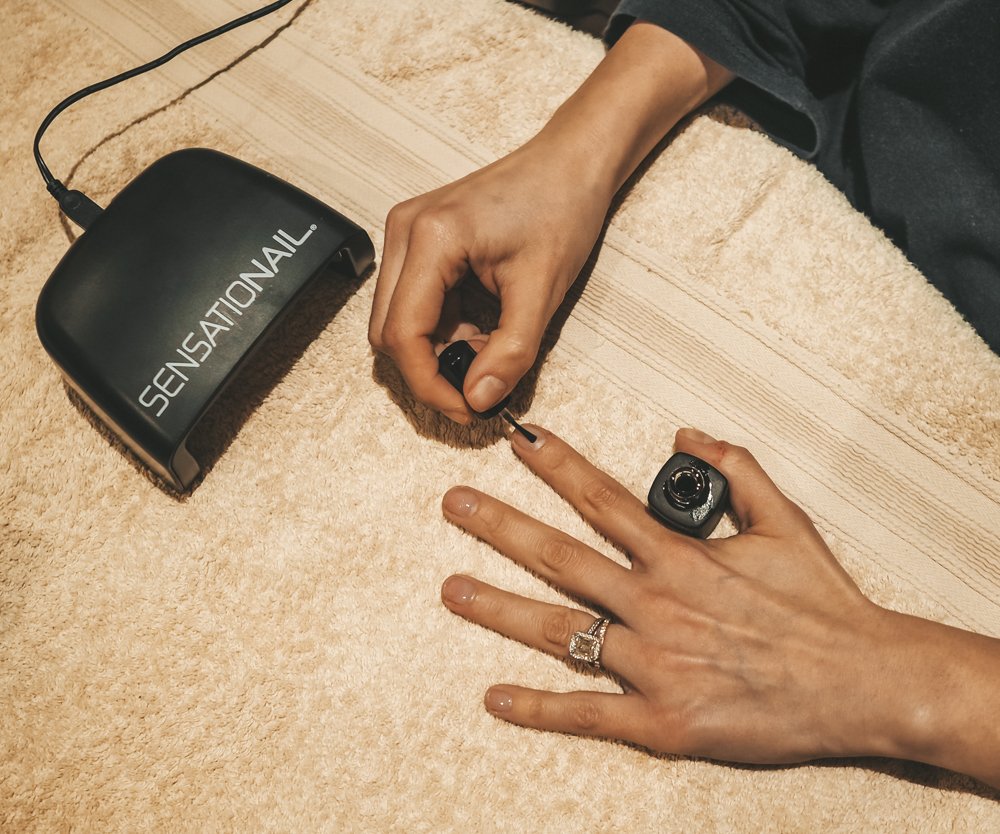
Start by applying a thin layer of base coat in broad, even strokes, starting at the base of the nail to the tip. It’s important that you leave a gap of between 1mm and 2mm between the skin and the edge of the base coat. This is important to eventually create a sealed edge.
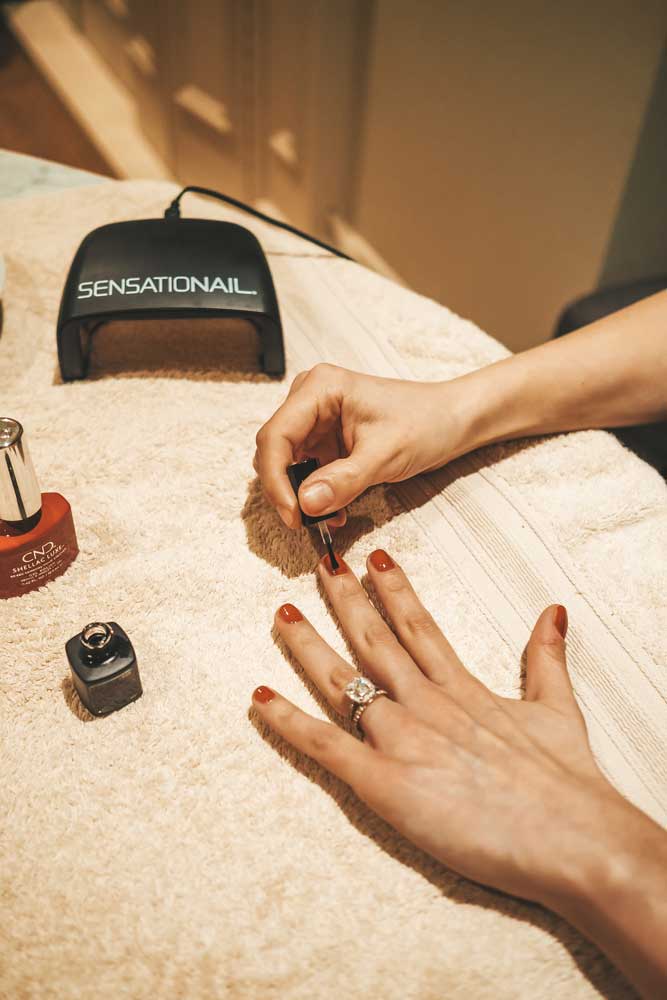
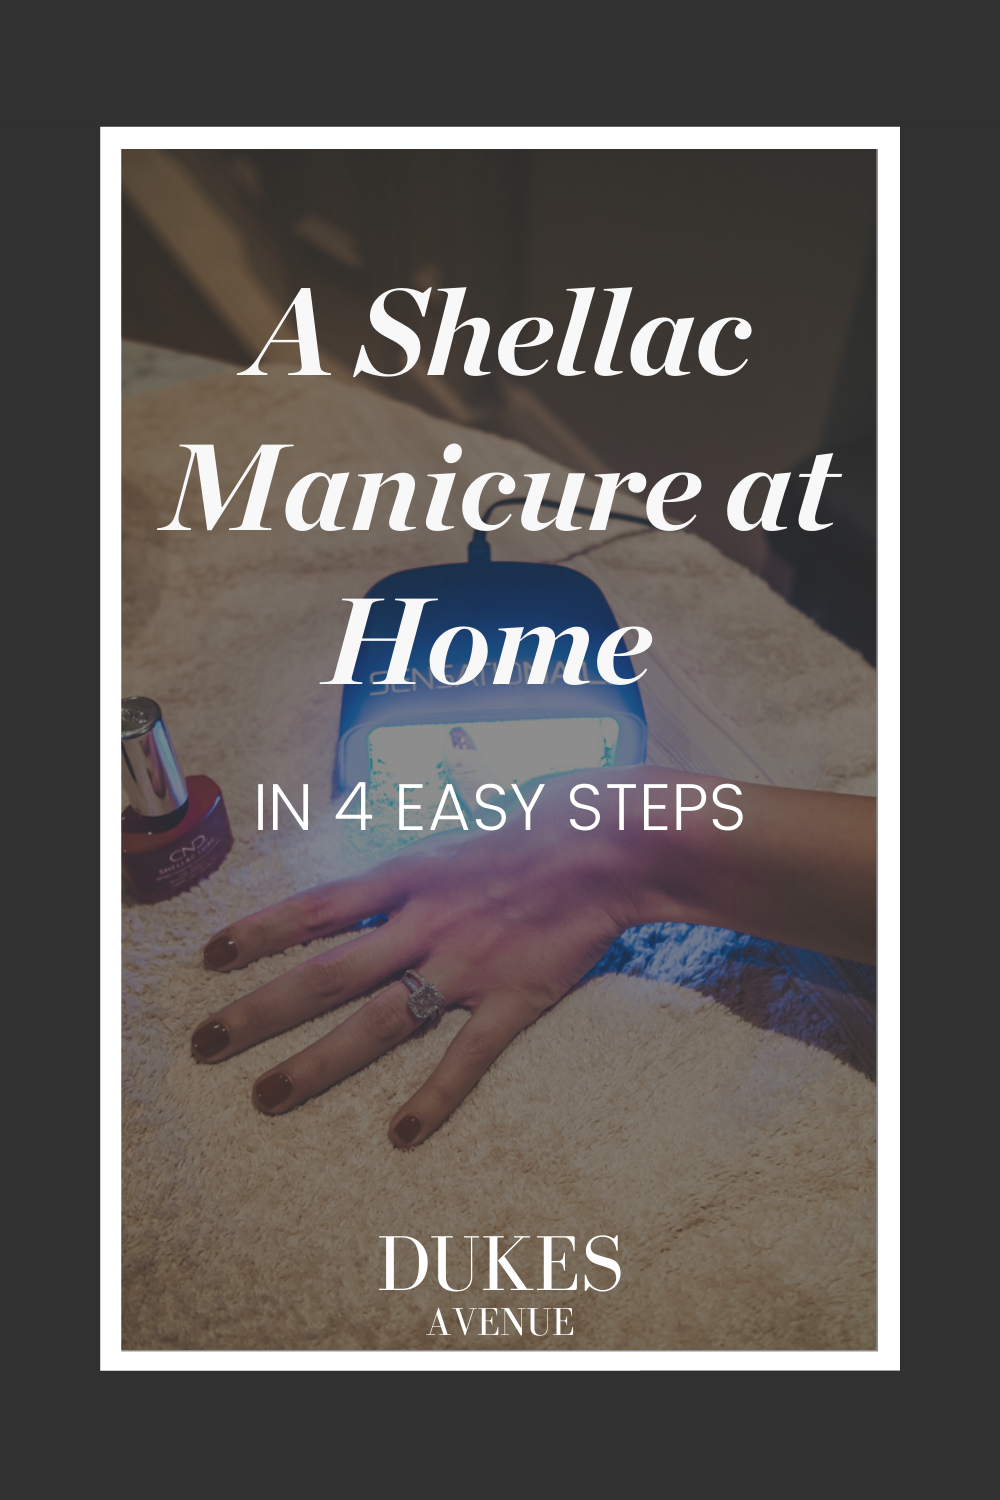
Insert your hand into your UV or LED nail lamp. The lamp I’m using is from one of the Sensationail nail kits that came with a top and base coat. The time that you’ll need to leave your hand inside will vary depending on the manufacturer, so be sure to read the instructions beforehand as you don’t want to leave your hand under the lamp for more time than is necessary. After following the instructions of your lamp and leaving your hand in for the required time, remove your hands and try not to accidentally tap your base coat against anything.
Apply Two Layers of Colour Gel Polish
And now it’s time for the fun part. Select a gel polish in the colour of your choice. I strongly recommend CND Shellac polishes (this article is about Shellac manicures after all), not just because the quality of their gel polishes and reviews are excellent, but also because they recently partnered with @beautychangeslives to distribute one hundred $1,000 grants to licensed Nail Professionals in the United States through the CND + BCL Nail Professional Relief Grant.
View this post on InstagramA post shared by CND (@cndworld) on
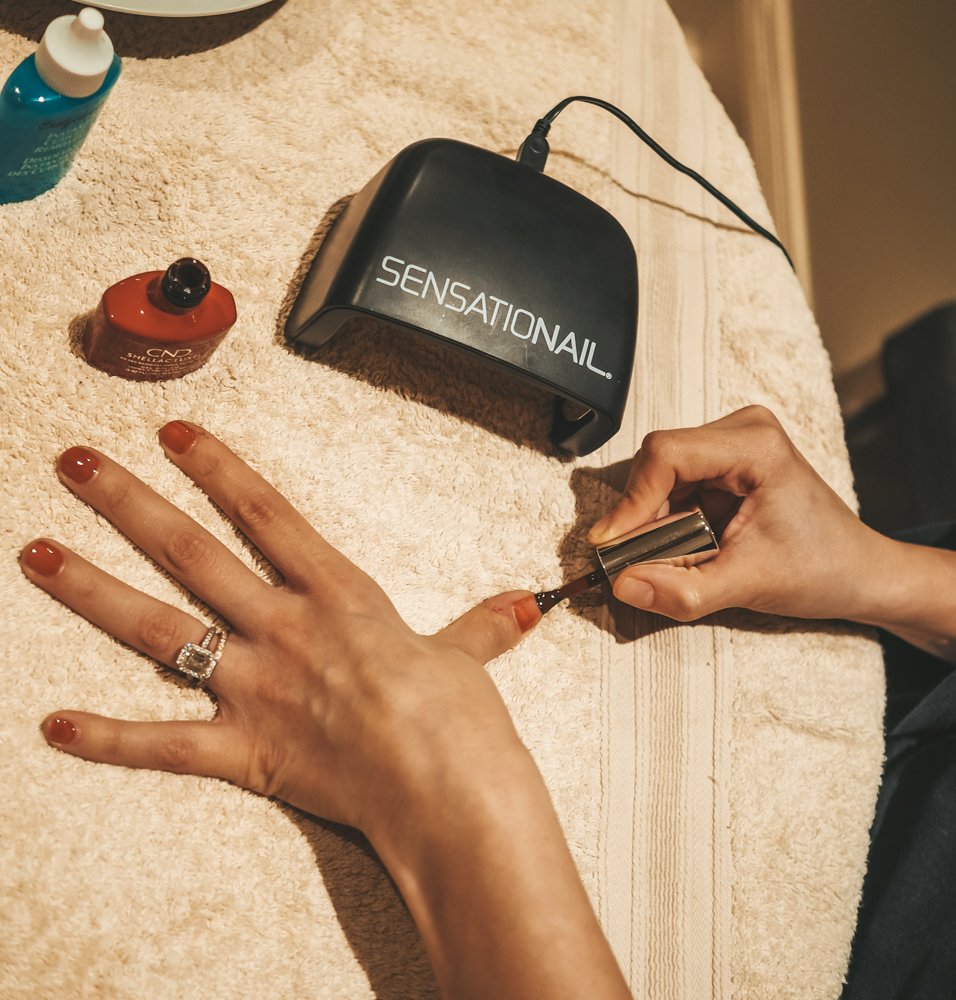
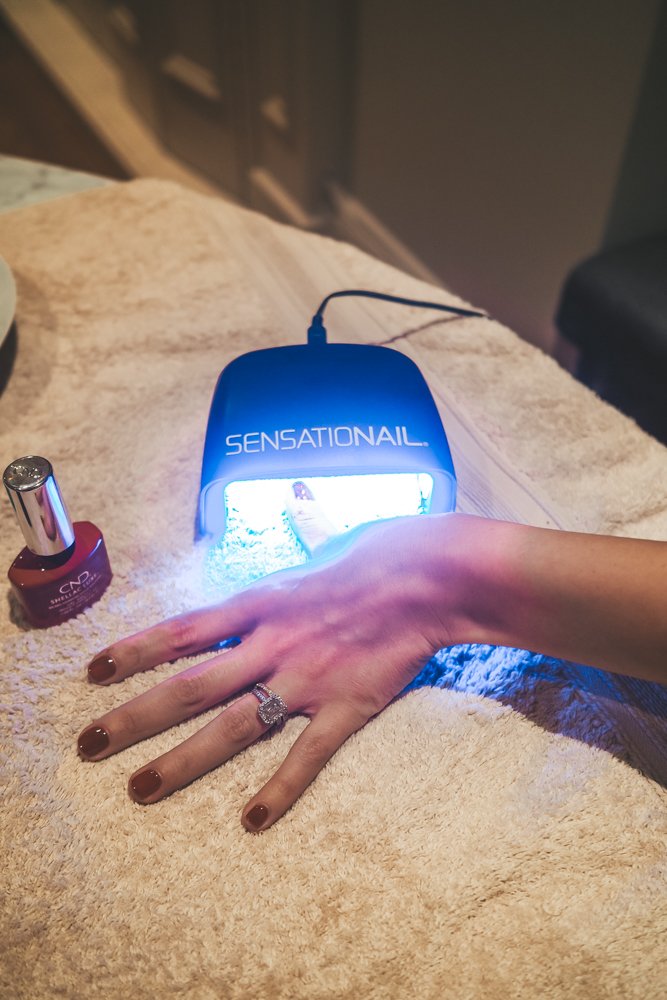
After selecting your colour, apply two thin layers of colour over your base coat, inserting your hand into the UV lamp for the recommended time in between each coat. Aim to keep within the boundary set by the base coat, and run the brush along the tip of your nail if possible. I’m using CND Shellac Luxe in shade Brick Knit.
Apply Top Coat
And finally, it’s time to apply the top coat. Unlike the colour gel, you should try and go just 1mm over the boundaries set by the base coat so that you can seal in the colour. It’s important that none of the layers touch the skin, as this will break the seal. Insert your hand into the UV lamp for the final time and allow the layers to cure.
After removing them from the lamp for a final time, rub over your nails with an alcohol wipe to remove any of that sticky residue left on the surface of the nail. If you don’t have alcohol wipes, a cotton ball covered with a clear alcohol like vodka will work equally well!
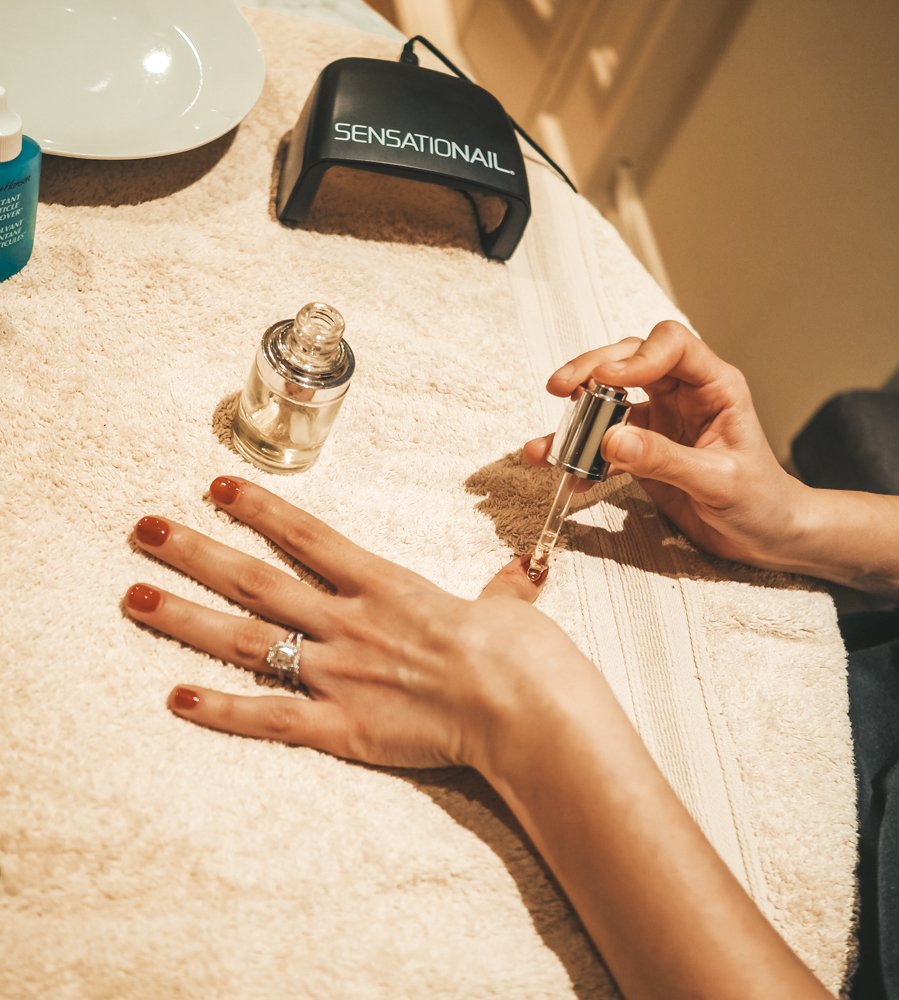
Apply Cuticle Oil and Hand Cream
And finally give your cuticles some care with some cuticle oil and massage in some hand cream.

And after following all that, you can proudly look down at your nails, done using the new home gel manicure kit that you have assembled, and feel proud that you tried something that you never thought you would! It’s definitely not an easy task! Whilst it may not be as even as you are used to or have elaborate nail art, having a fresh manicure is what we all need to perk ourselves up a little! If you have followed this guide, we want to see pictures of your nails! Send us a picture via email to [email protected] or tag us on Instagram and we’ll shout you out!
If you enjoyed this article, check out our beauty section for more articles on hair, makeup and skincare!
Don’t forget to pin this article if you found these tips helpful, and follow Dukes Avenue on Pinterest for more!

Sarah is a syndicated freelance writer and editor of Dukes Avenue. She founded Dukes Avenue in 2018 as a creative outlet while working at a London hedge fund. What initially started as a small blog has become a widely read luxury lifestyle online publication targeted at the modern woman, with content curated to inspire readers to live their best and most fulfilled lives. Sarah has lived in London, Malta, and, most recently, the United Arab Emirates and uses her travels and experiences to inspire much of the content.
-
Sarah Borg Barthethttps://dukesavenue.com/author/sarah-borg-barthet/
-
Sarah Borg Barthethttps://dukesavenue.com/author/sarah-borg-barthet/
-
Sarah Borg Barthethttps://dukesavenue.com/author/sarah-borg-barthet/
-
Sarah Borg Barthethttps://dukesavenue.com/author/sarah-borg-barthet/

